Web development in Jaipur has changed a lot in the last few years. Earlier, many developers focused mainly on building websites with HTML, CSS and JavaScript. Today, companies expect more. Developers need to build the frontend, connect it with the backend and make sure the application works with real data.
Imagine a student building a food ordering app. The frontend looks good and the buttons work properly. But when a customer places an order, the app has no way to send or save that data. The project may look complete, but it still cannot work like a real application.
This is where REST APIs become important. They help different parts of an application communicate and exchange data. Developers also use options like GraphQL and gRPC, but REST is still widely used in web and mobile development. Data shared by TechRT also shows that REST continues to hold a strong position in API development.
That is why learning how to build REST API is still a useful skill for students and freshers. This REST API tutorial for beginners will explain the process step by step, from basic concepts to building a working API.

What Exactly Is a REST API and Why Do So Many Apps Use It?
A REST API is a way for two software applications to communicate and exchange data over the internet. REST stands for Representational State Transfer. It treats data such as users, products and orders as resources. Each resource has its own URL, called an endpoint.
For example, a weather app does not create weather data on its own. It sends a request to a weather API. The server receives the request and sends the latest weather information back to the app. The API usually returns this data in JSON format, which applications can easily read and use.
Developers use REST APIs to connect the frontend with the backend and exchange data between them. A frontend can request data, send new information, update existing records or delete data through API endpoints.
REST APIs also keep the frontend and backend separate. This makes it easier to use the same backend with a website, mobile app or another platform. That is why REST APIs are widely used in web and full stack applications.
What Do GET, POST, PUT and DELETE Actually Do?
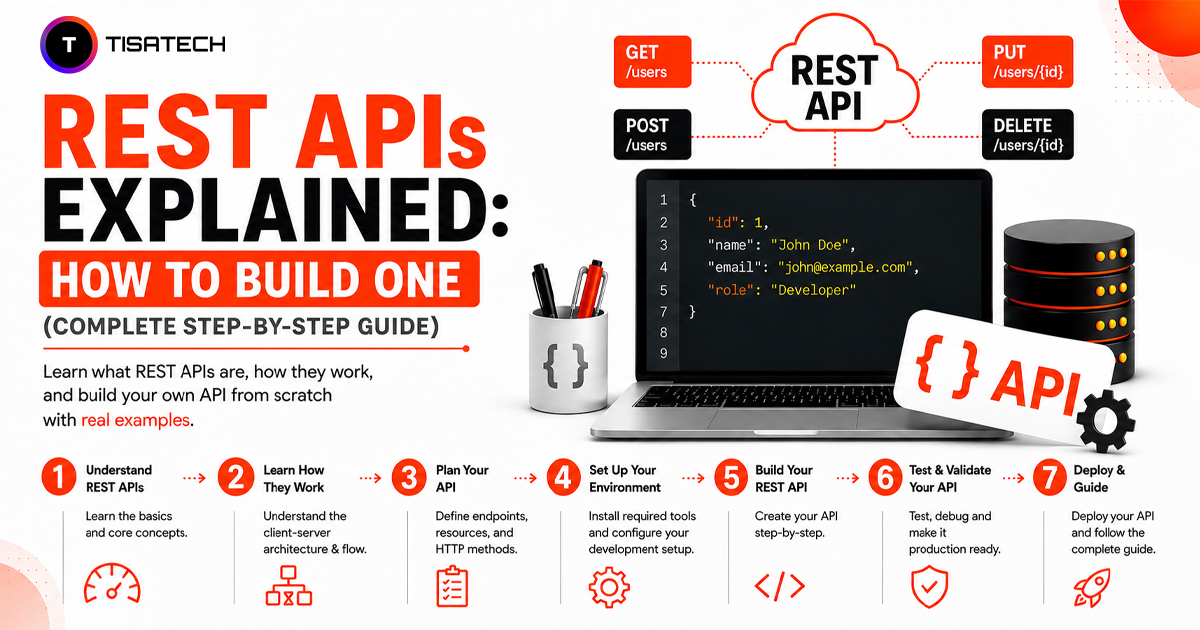
Once resources and endpoints make sense, the next step is learning how a client works with them. This is where GET, POST, PUT and DELETE come in. These HTTP methods tell the server what action the client wants to perform.
GET fetches data. When a shopping app shows a product list, it sends a GET request and receives the data back. POST creates something new. For example, submitting a signup form can send a POST request that adds a new user.
PUT updates an existing resource by replacing its current data. PATCH works a little differently because it updates only selected fields. DELETE removes a resource, such as a saved address from a food delivery app.
Together, these methods handle the main CRUD operations: create, read, update and delete. Once you understand this flow, the next steps in building a REST API become much easier to follow.
How To Build a REST API Step By Step With Node.js?
This is where theory turns into practice. One of the easiest ways to learn how to build a complete REST API from zero is with Node.js and Express. The setup is quick and the code is easy to follow, even for beginners.
Step 1: Create a Project Folder
Start by creating a new project folder. Open the terminal inside it and run:
npm init -yThis command creates a package.json file. It stores basic project details and keeps track of the packages used in the project.
Step 2: Install Express
Next, install Express with:
npm install expressExpress makes it easier to create a server and handle API requests in Node.js. You do not need to write all the server logic from scratch.
Step 3: Create the Server File
Create a file named server.js and add this code:
const express = require("express");

const app = express();

app.use(express.json());

let items = [];

app.get("/api/items", (req, res) => {
  res.json(items);
});

app.post("/api/items", (req, res) => {
  const newItem = req.body;
  items.push(newItem);
  res.status(201).json(newItem);
});

app.put("/api/items/:id", (req, res) => {
  const id = req.params.id;
  res.json({ message: `Item ${id} updated` });
});

app.delete("/api/items/:id", (req, res) => {
  const id = req.params.id;
  res.json({ message: `Item ${id} deleted` });
});

app.listen(3000, () => {
  console.log("Server running on port 3000");
});
This code creates a basic Express server and uses a simple items array to store data.
Step 4: Understand the API Routes
The code uses four main HTTP methods.
GET /api/items returns all items.
POST /api/items adds a new item.
PUT /api/items/:id handles an update request for a specific item.
DELETE /api/items/:id handles a delete request for a specific item.
These routes show how GET, POST, PUT and DELETE work together in one REST API.
Step 5: Run the Server
Now run:
node server.jsThe server will start on port 3000. Your API will now run on your local machine, and you can test the endpoints using a tool such as Postman.
Step 6: Connect a Real Database Later
This example stores data in a simple array. In a real project, you can connect the same API to MongoDB, PostgreSQL or another database.
Once you understand this REST API step by step process, you can add a real database, validation, authentication and better error handling. The main API flow will stay similar, which makes this a good starting point for anyone learning how to build REST API.
What Rules Make a REST API Clean and Production Ready?
Building an API that works on your local system is only the first step. A production-ready API also needs a clear structure and consistent rules so other developers can understand and use it easily.
Use resource names in your endpoints instead of action names. For example, GET /users is better than GET /getUsers because the GET method already shows that the API is fetching data.
Keep collection names plural, such as /users and /products. You can also add version numbers to your URLs, such as /api/v1/products. Versioning makes it easier to update the API later without breaking older applications that still use the previous version.
A REST API should also remain stateless. This means every request should include the information the server needs to process it. The server should not depend on details from a previous request.
These practices make an API easier to understand, update and maintain. They also help turn a basic college project into an API that can work more reliably in a real production environment.
How Do You Test Your REST API Once It Is Live?
An API is not complete just because the server starts running. You should test every endpoint to make sure it gives the correct response.
Postman is a simple tool for API testing. Enter your API URL, such as http://localhost:3000/api/items, choose the request method and send the request. A GET request should return the available data, while a POST request should add new data and usually return a 201 Created status.
You should also check common status codes. 200 means the request worked successfully, 201 means new data was created, 404 means the requested resource was not found and 500 shows a server error.
Testing each endpoint helps you find problems early and makes sure the API works properly before users start using it.





Build Your First REST API With TISA-TECH’s Full Stack Program
Learning REST API concepts gives you the base, but real understanding comes when you start building APIs on your own. TISA-TECH, a trustworthy IT training institute in Jaipur, includes practical backend work in its Full Stack Development training using Node.js and Express.
Mentors review student projects and help fix mistakes in areas like endpoint naming and status codes. The training stays focused on practical work, so students build working APIs they can show in projects and interviews. This hands-on practice helps turn REST API concepts into a real development skill.
Conclusion
Building a REST API is not about memorizing every rule at once. First, understand resources and learn what GET, POST, PUT and DELETE do. Then build a small project and practice these methods in real situations. Test each endpoint and improve the API as you learn. This is a practical way to build REST API skills that you can use in real jobs, freelance work and full stack projects.
FAQs Section
Ans. REST API is a general term for APIs based on REST principles. A RESTful API follows these principles properly, such as using resources, HTTP methods and stateless requests.
Ans. Yes. You can build a REST API using Node.js alone, but Express makes routing and request handling easier, especially for beginners.
Ans. MongoDB, PostgreSQL and MySQL are all good options. You can choose one based on your project and the backend technology you are learning.
Ans. Yes. The same REST API can provide data to a website, Android app, iOS app or another client as long as they use the correct endpoints.
Ans. After the basics, learn database integration, authentication, input validation, error handling and API security. These skills help you build more complete backend projects.